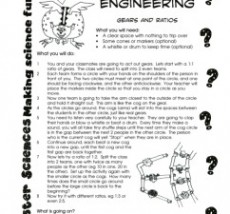
Learn how gears and ratios at work by acting them out with your friends!
 |
 |
What you will need:
- A clear space with nothing to trip over
- Some cones or markers (optional)
- A whistle or drum to keep time (optional)
What you will do:
- You and your classmates are going to act out gears. Lets start with a 1:1 ratio of gears. The class will need to split into 2 even teams.
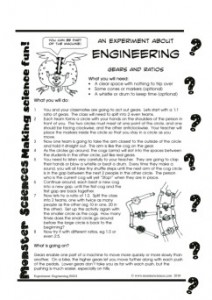
- Each team forms a circle with your hands on the shoulders of the person in front of you. The two circles must meet at one point of the circle, and one should be facing clockwise, and the other anticlockwise. Your teacher will place the markers inside the circle so that you stay in a circle as you move.
- Now one team is going to take the arm closest to the outside of the circle and hold it straight out. This arm is like the cog on the gear.
- As the circles go around, the cogs (arms) will slot into the spaces between the students in the other circle, just like real gears.
- You need to listen very carefully to your teacher. They are going to clap their hands or blow a whistle or beat a drum. Every time they make a sound, you will all take tiny shuffle steps until the next arm of the cog circle is in the gap between the next 2 people in the other circle. The person who is the current cog will yell “Stop!” when they are in place.
- Continue around, each beat a new cog into a new gap, until the first cog and the first gap are back together.
- Now lets try a ratio of 1:2. Split the class into 2 teams, one with twice as many people as the other (eg 10 in one, 20 in the other). Set up the activity again with the smaller circle as the cogs. How many times does the small circle go around before the large circle is back to the beginning?
- Now try it with different ratios, eg 1:3 or even 2:5.
What is going on?
Gears enable one part of a machine to move more quickly or more slowly than another. On a bike, the higher gears let you move further along with each push of the pedals. Lower gears don’t take you as far with each push, but the pushing is much easier, especially on hills.
Teaching Notes:
Topic:
Gears and ratios
Key Concepts:
¨ How gears work, how size affects their ratio
Resources:
Investigation Record IR01– one copy per student
- Experiment Description Engineering EG01 – one copy per student
- A clear space, markers (optional), whistle or drum (optional)
Lesson Notes:
This lesson is an introduction to gears and ratios, but it needs to be proceeded by some discussion about gears, preferably with some examples that students can look at and try. Common examples could include can openers, egg beaters, clocks and bikes. There are also many toys that have gears, including lego, so if you can have some of that for a demonstration, all the better.
As a class discuss the experiment prior to undertaking it, and students should complete the sections of their Investigation Report IR01 from ”Title to “Hypothesis”.
What should happen in this experiment, and why?
In this activity, we start with a 1:1 ratio – it is important that each “cog” slots into the next space in the opposite circle, just like a gear would. If the students have had a good look at how gears work, they shouldn’t have too much trouble understanding this. When you try the different ratios, make sure you count how many revolutions the smaller gear does to each revolution of the big wheel.
Students should understand that faster revolutions mean less force – ie the gears that move quickly don’t push as hard as the slow gears.
Follow up discussion questions:
Where would these kinds of gear ratios be used? Why?
- Have you ridden a bike with gears up a hill? How did the gears help?
- How many gears does a car have? A truck? Why would a truck have more?
- What does RPM stand for?
Get this experiment here or as part of a bundle of Simple Machines Experiments here.

